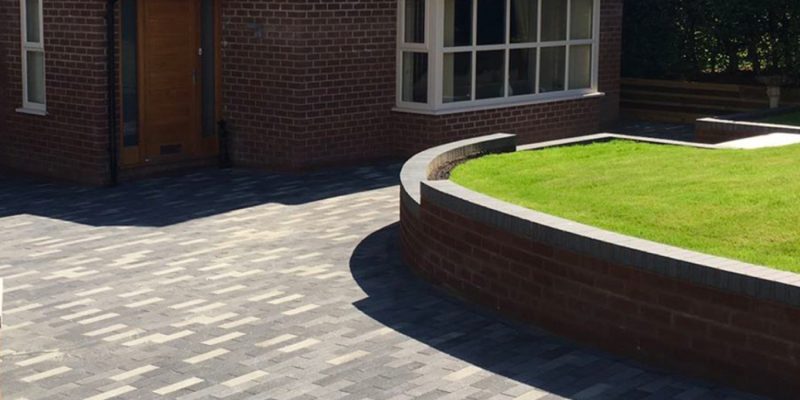
Our Top 5 Driveway Edgings

So, you’ve decided on the perfect driveway for the front of your house. You’ve picked the material you’re going to use for the drive. You’ve got the plans for what will go where, and everything fits perfectly. Before finalising the plan, it might be worth thinking about the finishing touches.

Where the driveway meets the flower bed or lawn, a divide can make a perfect edition to the overall look. There are several options, some purely cosmetic, some serve to provide better drainage, and some keep everything where it should be.

Concrete Paving Set

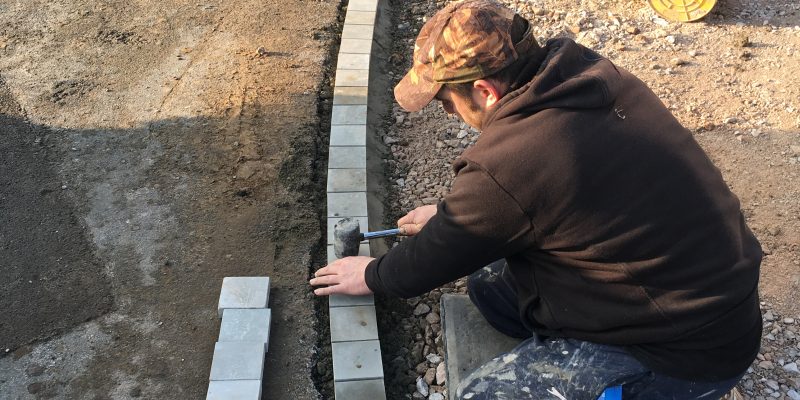
Whether you’ve used block paving or not as the material for your drive, a concrete paving set works great as a surround or divide. Using similar bricks to a block paved drive, they’re perfect for creating a finished edge. The options in colour, size, and style make them a popular choice and they won’t cost anything near paving a whole drive.

Natural Rocks

Natural rocks provide an awesome visual effect. With their variations in size and shape, there are usually no end of rocks to choose from to suit your vision perfectly right down to the last rock. Using a concrete base, you can set the rocks around the drive however you please. If space is tight on the drive, just be careful when parking as the underside of your car probably won’t get along with them.

Log Roll

This cheap but effective finish comes in various effects, styles and lengths. You can concrete them in as a permanent feature or simply embed them in the lawn or soil around the edges. It’s worth noting that unless properly treated and looked after, they can deteriorate and if they were set in the concrete, will be more difficult to replace.

Wooden Sleepers

Another wooden finish, much more durable than log roll are wooden sleepers. You can stack them, or embed them vertically to produce a neat and tidy divide. They won’t take as much maintenance to hold their quality as the log roll but will definitely need coats of protection from time to time.

Purpose Made Edging

If you look for long enough, you’d never stop finding varieties of purpose made edging. From kerb to cove, rubber to rock, there are many different shapes, sizes materials or colours. As they’re purpose built for the job at hand, some types are easy to install even as an after-thought.

For more information about installing edgings as part of your project, feel free to contact us by clicking here.

Driveway Legislation

With more and more people on the roads all the time, many families now have more than one car. In some cases, there may be two, three, or even four in a household. The problem that comes with this, is where do we park them all?

The simple alternative has always been to adapt your front garden to accommodate a vehicle or two. Whilst this works fine for the family, as more and more people switched lawn for a landing strip added strain was put on drains as they struggled to take away the water now running from the front of houses.

As a result of this side effect, changes to UK legislation in 2008 mean that in certain circumstances you may need to gain planning permission before going ahead with a driveway. The rulings state that driveways creating more than five square meters of non-permeable material, need to be signed off first by the local authority.

What Do You Need to Know?

If you plan to lay more than five squared meters of the driveway, replacing lawn or flower beds, you’ll need to contact the council. Exceptions to this rule are made if you plan on using permeable or semi-permeable materials for the drive. Other exceptions include; if the runoff from the drive will end on a lawn or flower bed; if the runoff is directed to a soakaway or permeable border where it can drain slowly and naturally.

If you plan on using gravel, or a permeable block paving, this should sufficiently stop the flow of water into the drain. As hard surfaces create 50% more runoff, opting for a driveway that combats the issue will help in the event that the council has declined permission for the conversion.

If your driveway runs across a pavement or verge, the local authority may also require you to lower the curb. This work is sometimes undertaken by the council or sometimes left to the property owner using recommended contractors. This work prevents damage from your vehicle travelling back and forth over the pavement or verge. 

Planning Accepted

Once your local authority has approved the work, you can get started. It always pays to think of the environment and local resources. If you are lucky enough to have the space to fit both a car and garden space, then directing your runoff towards the grass will only help your plight. For advice, or if you’re considering a new driveway, feel free to contact us via our contact form.

How to seal a block paved driveway

Sealing your block paving driveway every 3 to 5 years helps with much more than just protecting the surface. A properly sealed driveway will keep weeds at bay, help protect from UV damage and keep the driveway looking its best for years to come.

With just a few tools and materials at your disposal, sealing your block paving driveway can be undertaken as a bit of home DIY. To do this properly you’ll need just 3 days over the course of 2 weeks, weather dependent (Sealing your Block Paving Driveway in the North West may take longer).

Jet Wash

The first of these tools you’ll need is a jet wash. It’s important to thoroughly clean your driveway before sealing. For the best results, we’d advise cleaning it twice, paying special attention to any joints.

After the first wash wait for the driveway to completely dry, check the joints for any debris and dirt that may be stuck. It may be of use to go over the joints with a wire brush just to be sure that everything is clear. Jet washing again after this process will ensure you’ve cleared any loose dirt, gravel, debris, or other potential contaminants.

Jointing Sand

Now it’s time to make sure the joints are level and neat. Refill the joints with jointing sand or another kiln dried sand. Filling in these gaps makes sure you’ve replaced any sand that was washed away during the cleaning process. Once you’ve filled the gaps you can brush away any excess sand and you’re ready to apply the first coat of sealant.

1st Coat

Before applying the first coat it is important to read the instructions, so you are familiar with the health and safety regulations. The usual advice would include gloves, goggles, and make sure you’re working in a well-ventilated area.

For the best results, you should use a roller to apply the first coat. When rolling the first coat onto the drive, be sure to apply thoroughly between the joints. You’ll want a nice even layer across the surface using around 1-liter per 4m2. It is important not to apply the sealant too liberally as this can disrupt the sealing process.

2nd Coat

Giving the first coating 1-2 hours to dry you can apply the second. For this coat, you should ideally use a DIY pressured sprayer although you can apply again with the roller if you choose. With the first coat dry, spray the second coat on at a right angle to the first coat. This coat can be applied across a bigger area of around 7-8m per 1-liter.

Now you’ve applied both coats you need to leave the driveway untouched for 24-hours so it can completely dry.

Materials List

The tools and material list for the job are as follows:-

  • Jet Washer
  • Sweeping Brush
  • Jointing Sand
  • Sealer
  • Sealer rolling kit
  • DIY Sprayer

Choosing the Best Material For Your Driveway

Once you’ve decided on the perfect layout for your driveway and garden, you’ll need to consider materials. Dependent on how you’ve divided up the space at the front of your home, there are a few considerations to be made when it comes to what goes down the drive.

Your driveway provides much more than somewhere to park the car. It’s one of the first features anyone sees when visiting your home. Therefore, you want the driveway to look good as well as being practical and environmentally convenient.

When choosing your material, you may want to consider:-

Maintenance – Will it need cleaning and/or resealing over time?

Drainage – is there a chance of standing water, does it need to be permeable?

Cost – Does it fit your budget?

Use – How often will you be rolling on and off, will there be any other regular traffic?

Imprinted Concrete

With imprinted concrete or decorative as it is sometimes referred, you have a choice in both pattern and colour. Concrete has long been popular as a cheaper option for driveways. With the decorative concrete however, the aesthetics are much more pleasing on the eye.

The preparation and process is identical to that of a standard concrete pour and creates a solid single base. As the concrete sets a decorative pattern is imprinted in the surface giving the illusion of flags or stones.

Resin Bound Aggregate

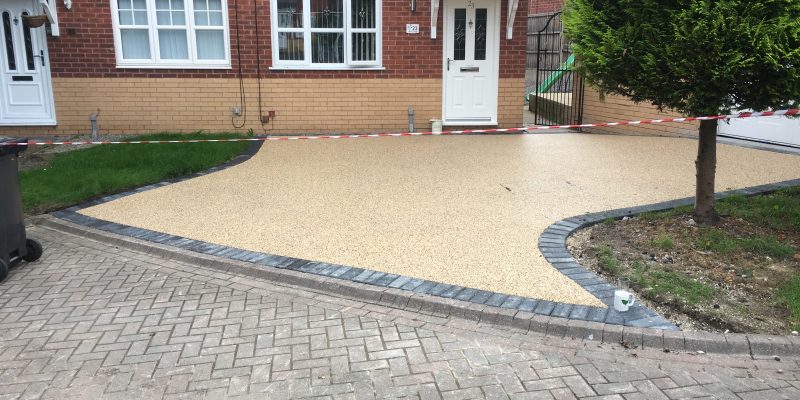
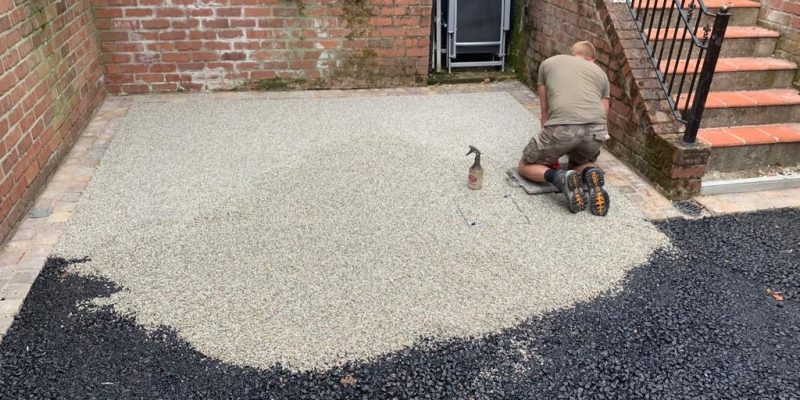
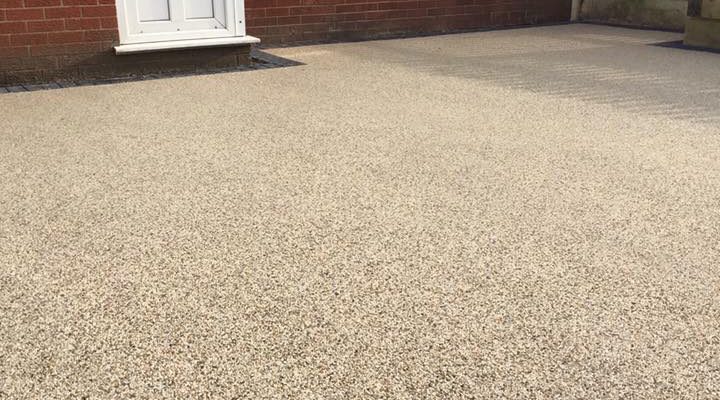
Resin bound driveways are a great option for resurfacing existing driveways as well as for new projects. The bound aggregate is available in a range of colours and usually sits on a concrete base. If however, you’re resurfacing an existing driveway it will need to be thoroughly checked for suitability.

Resin bound driveways prove popular due to their affordability. A proper installer will ensure the driveway meets the Environmental Agencies regulations. The mix of aggregate and resin should leave no streaks and contain a UV stable resin.

Natural Stone

Natural stone drives really deliver a wow factor. They’re extremely resistant to adverse weather and hold their finish for a long time. As you would imagine, this luxury comes at a cost and dependent on the size of the driveway will need perhaps reserved consideration for those on a limited budget.

With a choice of stones, colours and styles, natural stones can be tailored to suit the character and style of the home. This contemporary style is almost always individual to both the home and driveway.

For more information on price, planning permission or for a quote, follow this link below.

Functionality with Features – Keeping Your Garden Good Looking Around a Driveway

When opting for practicality over-pruning for your front garden, a healthy mix of features and functionality can help keep it feeling a touch more garden than a driveway. There are certainly more options than a few potted plants down either side if you manage the space well.

Measuring up and checking your wiggle room for extravagance should be the first port of call. For a vehicle, you’ll need around ten-foot width if you want to get comfortably in and out. If you’re using a landscaper for design, work with them to establish what sort of room you’ll have left over and then plot it out with some passion.

As much as neatly trimmed hedges can obscure the view into your windows and reduce noise if you’re going to be too busy to maintain it, will that look be preserved? Smaller plants and shrubberies will be easier to maintain and can add a bit of contrasting colour. Many plants don’t need much room or maintenance, so dotting a few flower beds around the driveway will definitely brighten things up. A perfectly positioned bench or some decking with furniture can complete your courtyard contentment.

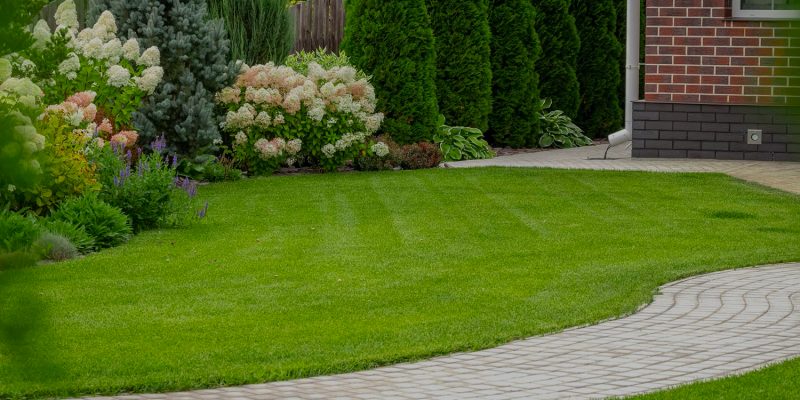
If you can squeeze a garden and a drive in the front, it’s always nice to have another option on a sunny day. A lawn down the side of the driveway will help with the run-off of rainwater from the drive. Covering your bins up somewhere out of the sun will help you to enjoy the space away from nasty odours and unsightly grey council rubbish receptacles. 

If you, like us, seem to be working all the time, mowing a lawn may be something you’re not too keen on. Considering artificial grass may be the way to go. Over the last ten years artificial grass has become increasingly popular and increasingly convincing. The difference a little bit of green can make to a garden, real or fake makes it all a lot easier on the eyes.

Creating a more convenient space out the front of your house doesn’t always mean the end of your garden. Whether you take on a complete makeover or plan and complete it over time, there is usually a way to compromise some comfort. With flower beds, lawn space and an area reserved for relaxing your and your car can occupy the same space harmoniously.

Driveway Care & Maintenance

With the correct care, your driveway or patio should last a lifetime. Regardless of the surface, with just some minimal maintenance you can keep it looking fresh and free of cracks, dirt and subsidence.

As solid as the ground may be, you want your investment to stand the test of time. This definitely won’t cost you much in the way of time, effort or money, but will guarantee that the finish looks fantastic far into the future.

A good jet washing at certain intervals is recommended for every type of driveway. There’s no real guide to how often as there are many contributing factors to their resilience. You should be able to judge by eye though, if it looks to be getting a little mossy around the edges, a quick jet wash should clear that up.

All driveways will benefit from a sealant. It’s advised to apply these protective coating every three to five years. Sealants protect the surface from any spillages and prevent water damaging the porous surface. A sealant will also protect the surface from UV light which can degrade the look of the driveway over time.

It’s best to avoid putting any harsh chemicals on your driveway. Deicer is commonly used through winter times to clear ice and slippery patches. Deicer can eat away at the surface of your drive and cause gradual deterioration. If you need to clear a slippery patch from your drive, use a bit of sand, this can be simply brushed away afterwards. 

Spillages such as oil from cars are a common occurrence. Without a sealant applied oil can also damage the surface of your driveway. If left it can also affect the colour leaving behind stains or discoloured patches. Cleaning these spillages up at the earliest opportunity can save from unsightly blotches.

Accidents do happen, avoiding your driveway or patio with heavy and sharp metal objects can save chip or cracks. Where necessary, exercise and extra bit of caution when placing tools down on the drive. If you have a concrete drive, chips or cracks can be fixed with some mortar. With patio or natural stone, we’d recommend granite/marble glue. The glue is available in a variety of colours to match and will keep the surface sealed and free from corrosion.

However you chose to approach the maintenance of your driveway or patio, it’s important to remember the necessities. Keeping the moss and dirt at bay will be less of a chore if you keep to a regular routine. Sealant will not only reduce the build-up, but make jet washing easier as it gives the drive a non-porous finish. For advice, or if you’re considering a new driveway, feel free to contact us via our contact form.